Conversational courses combine group process with AI to deliver interactive self paced learning experiences that surface the insight and understanding of your participants. With a conversational course, you can sequence content in a way that requires participants to respond to each section before they can move on to the next one. Our AI engine automatically highlights the best responses and engages participants through email to optimize for course completion.
You can choose to create your conversational course directly from the main page, or add sub spaces and divide it by modules/sections.
To start, go to your dashboard and create a top level space:
To add sub spaces, click on Edit page button on the top menu, put the cursor on the empty line and click on one of the Add space shortcuts:
You can use the Collapsable section block to add additional details of what participants can expect from the course in a way that won't take up too much space on your page.
1) In the edit mode, put the cursor on the empty line below the content, click on Add block (+ icon), scroll down to the Special section and select Collapsable section:
2) Add your title and description and click on Create collapsable section:
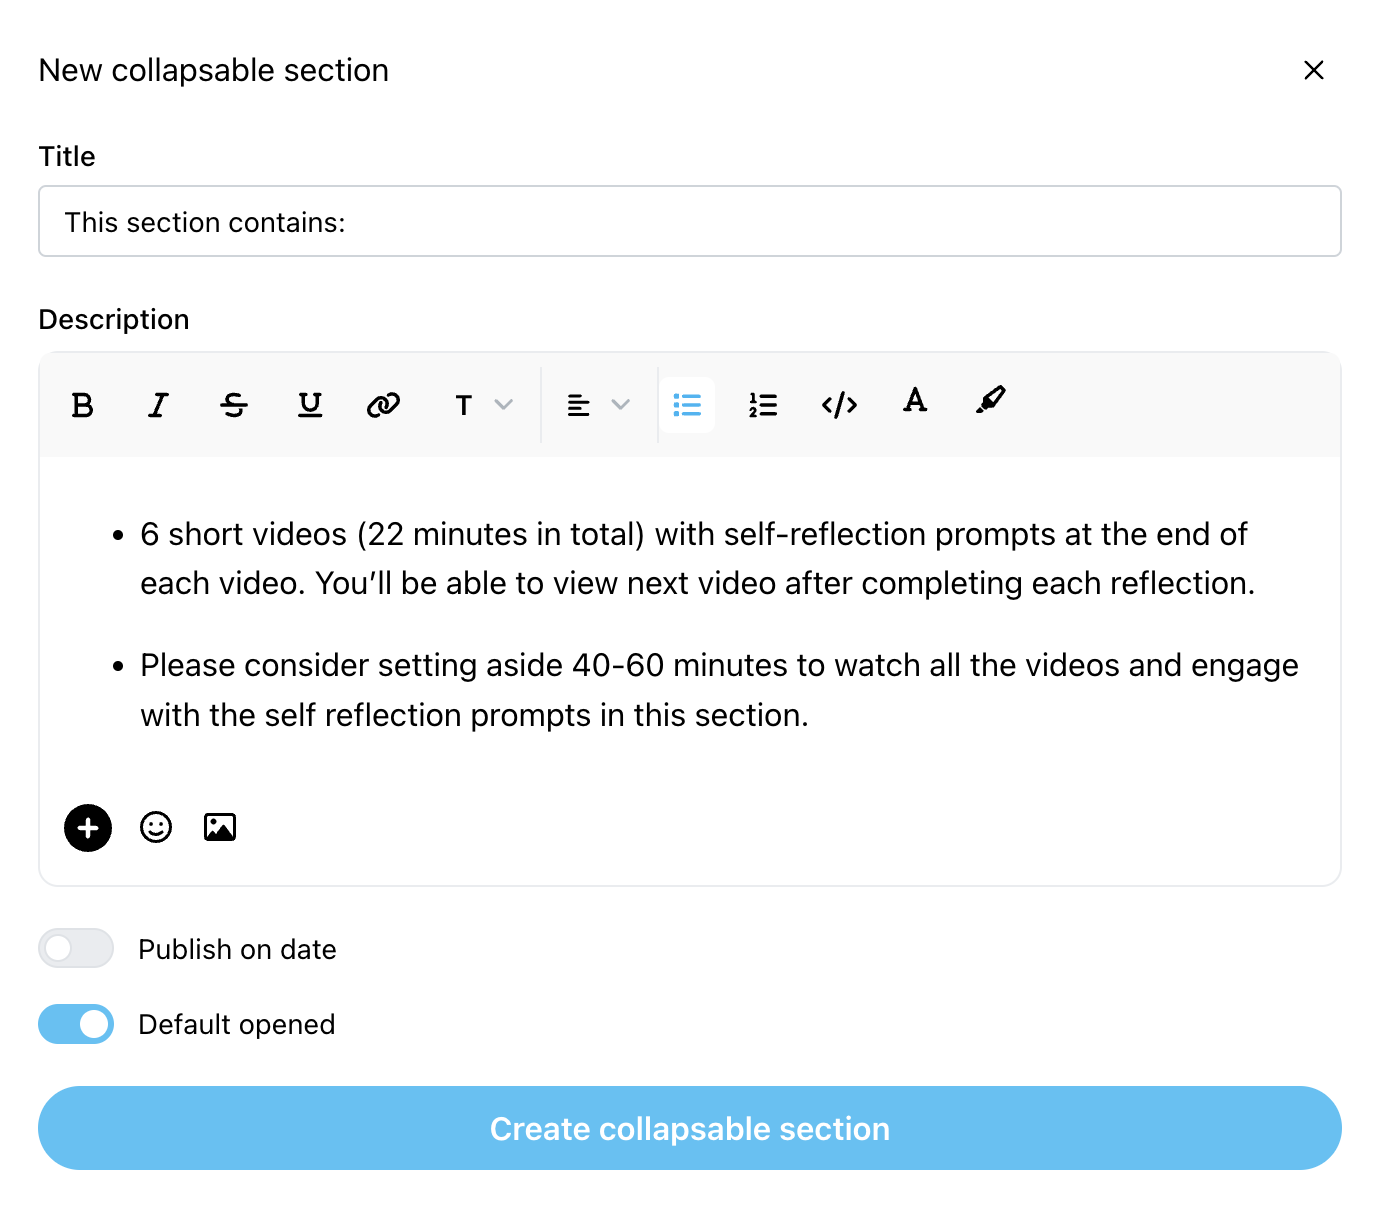

 TIP: Enable the Default opened option so that the description text is automatically visible for the participants
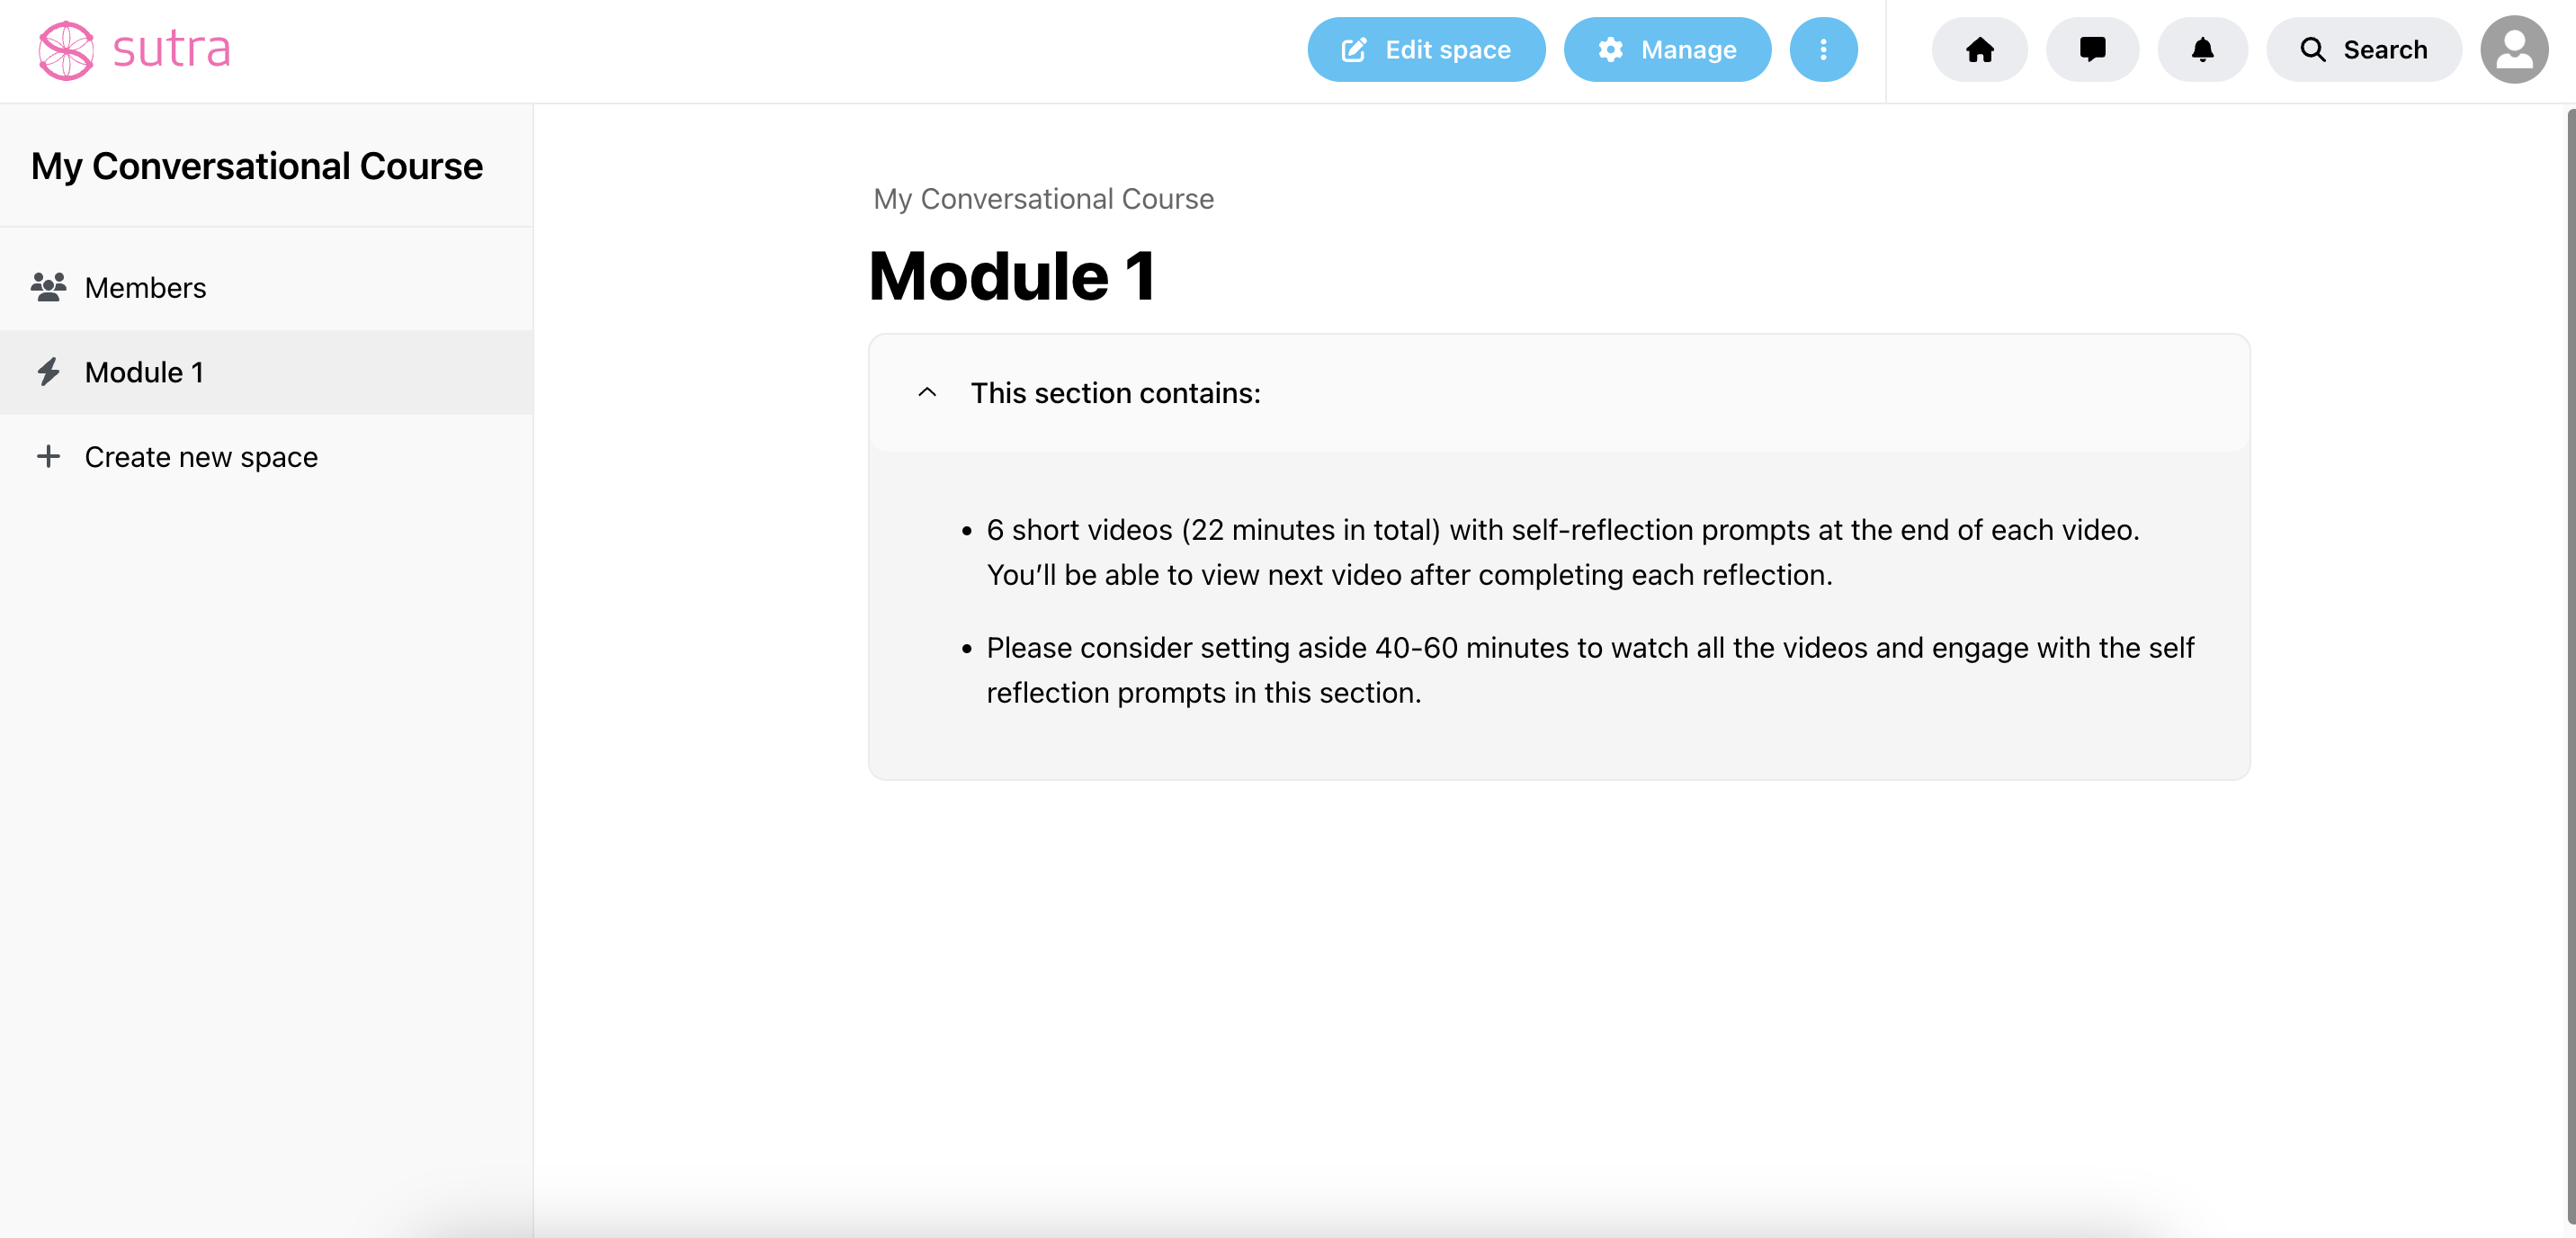
This is what it will look like when finished and participants can minimize it by clicking the small arrow ˆ.
To enhance the interactive experience, you can add Continue buttons along the course which the participants will need to click on to move forward to the next piece of content.
1) In the edit mode, put the cursor on the empty line below the content, click on Add block (+ icon), in the Interactive section, select Continue button
2) Select the button and click on the Settings icon
3) Change the button text and alignment
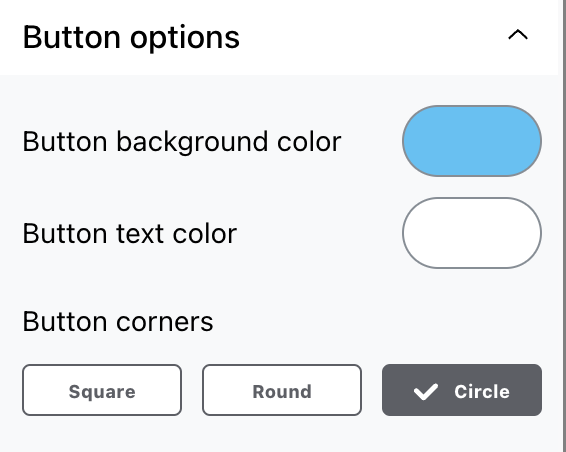
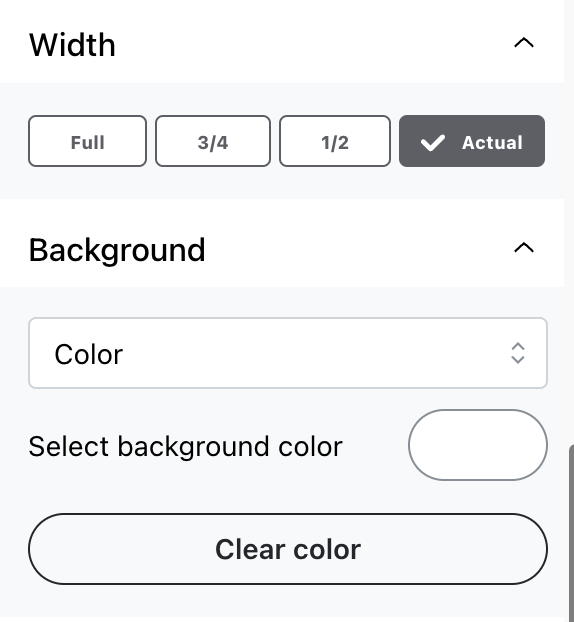
TIP: In addition to the alignment, you can also explore other settings such as button corners, width, and colors. If you have a color theme preset, the buttons will be created following those colors, but you can also change the button color individually on each section if desired.
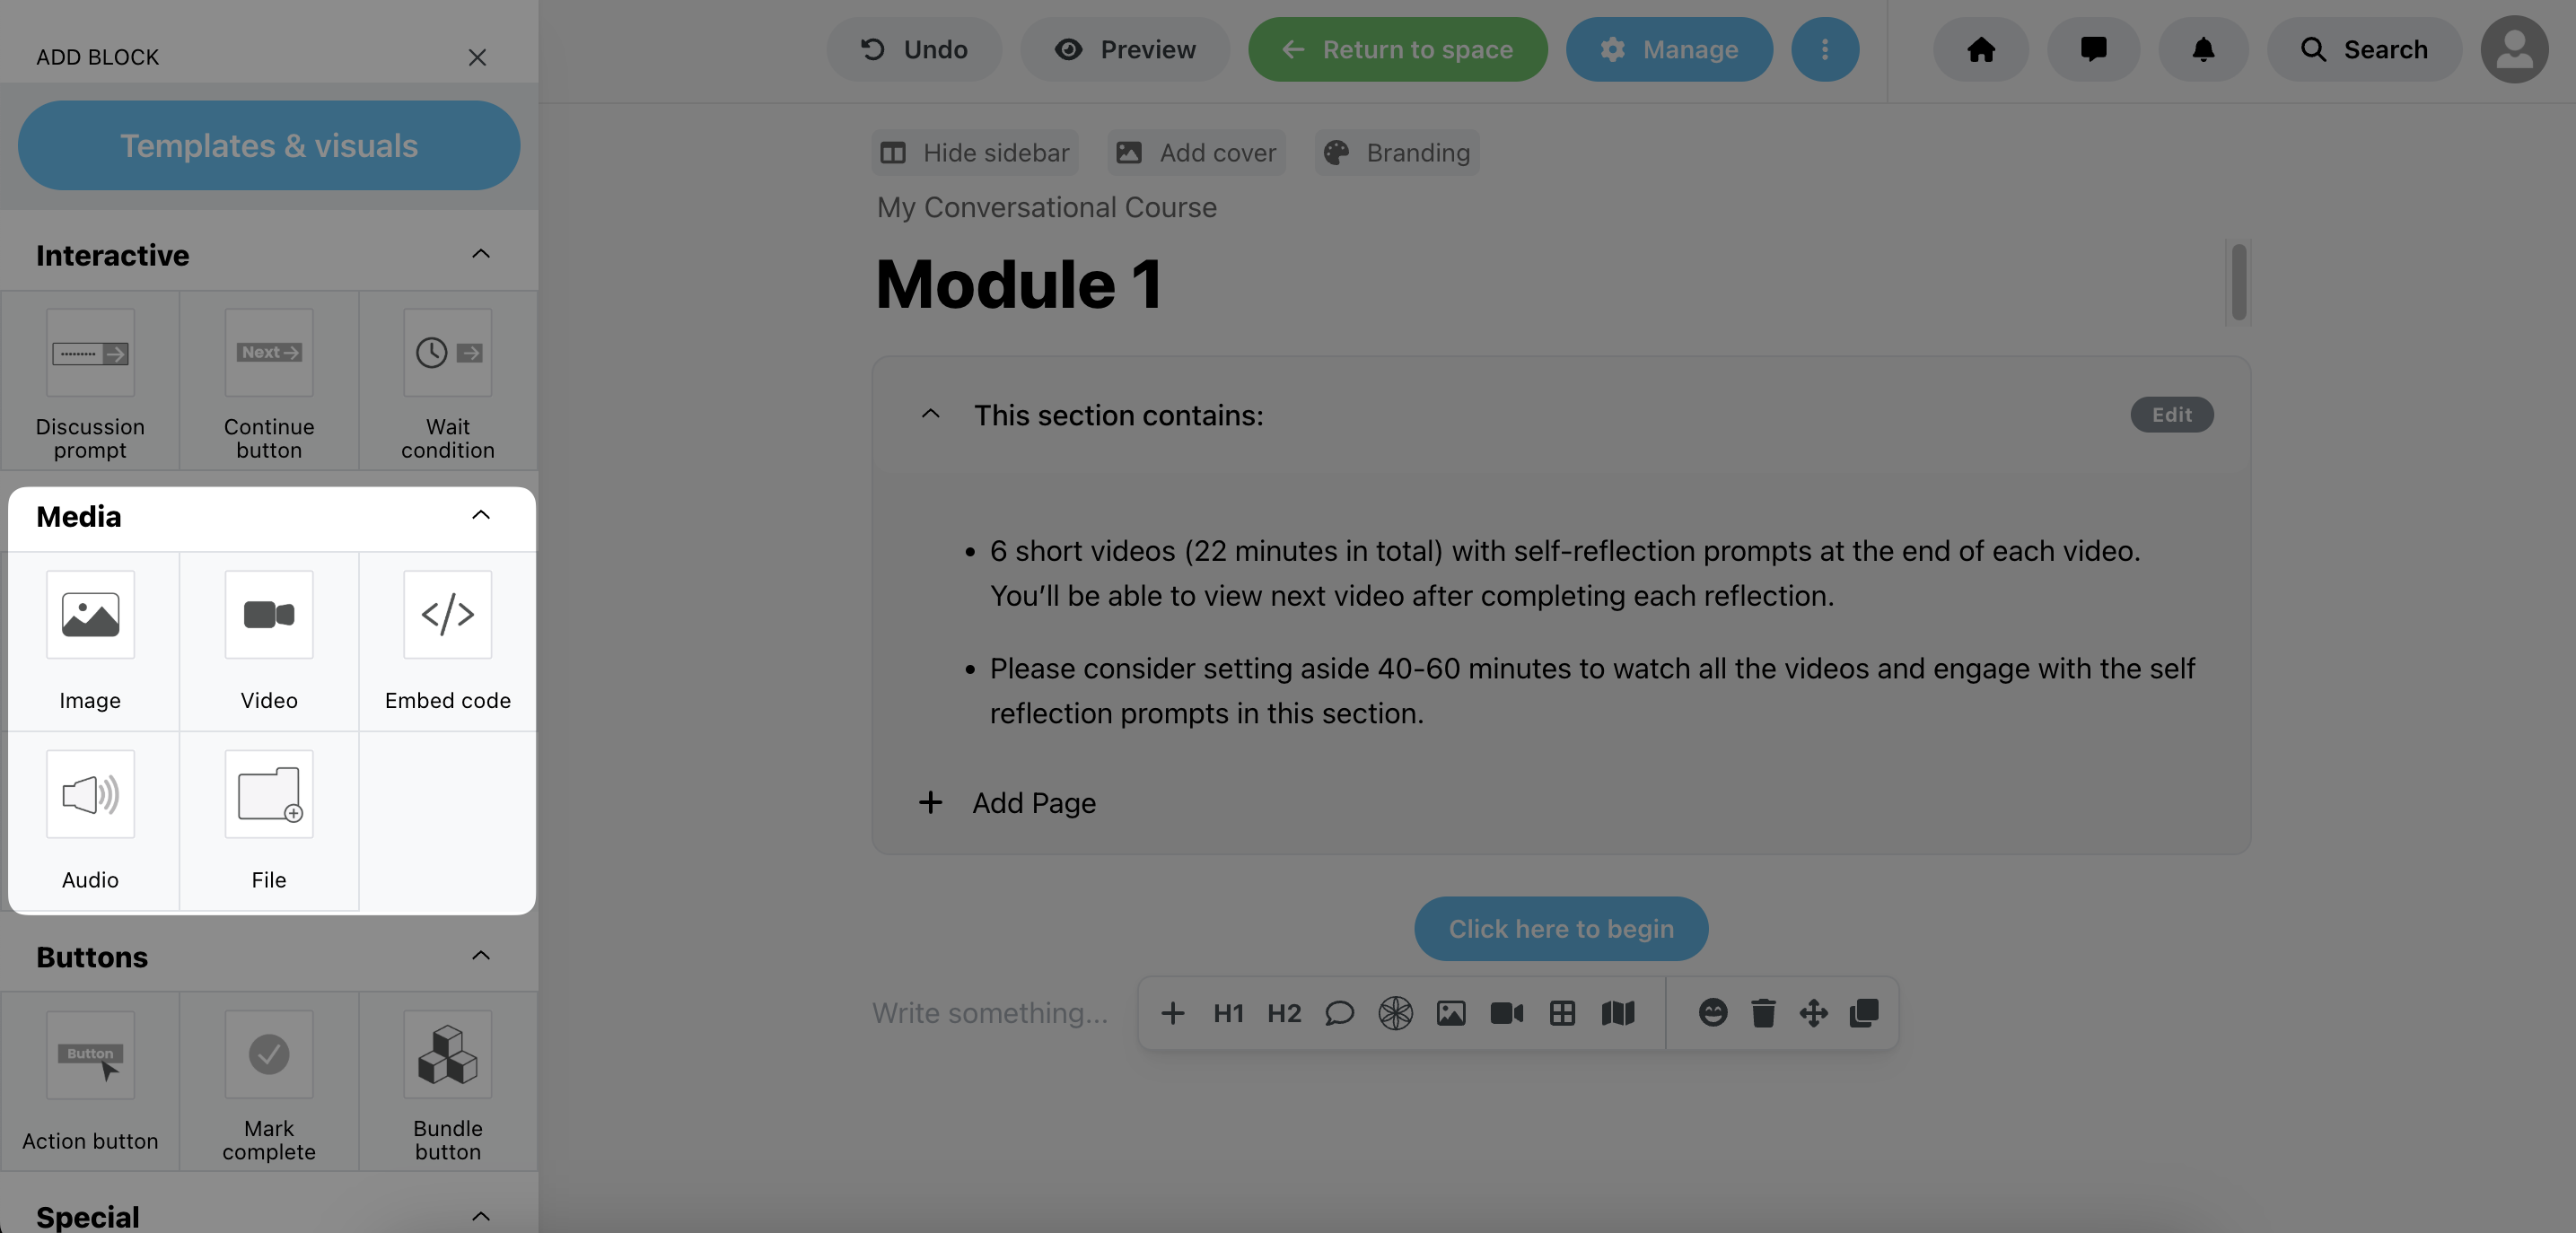
Conversational courses can be created using pre-recorded video, audio, images or any other media that you want.
To add them, just put the cursor on the empty line below the content, click on Add block (+ icon), and choose one of the options in the Media section:
Next, you should add your prompt or question for discussion. You can simply put the cursor on the empty line below the media and start typing or copy and paste text from another editor:
TIP: Here is a handy prompt you can use with ChatGPT to help you create an engaging discussion prompt: TIP: Note that when you add any text to your space, you have the option to select it to access the formatting options
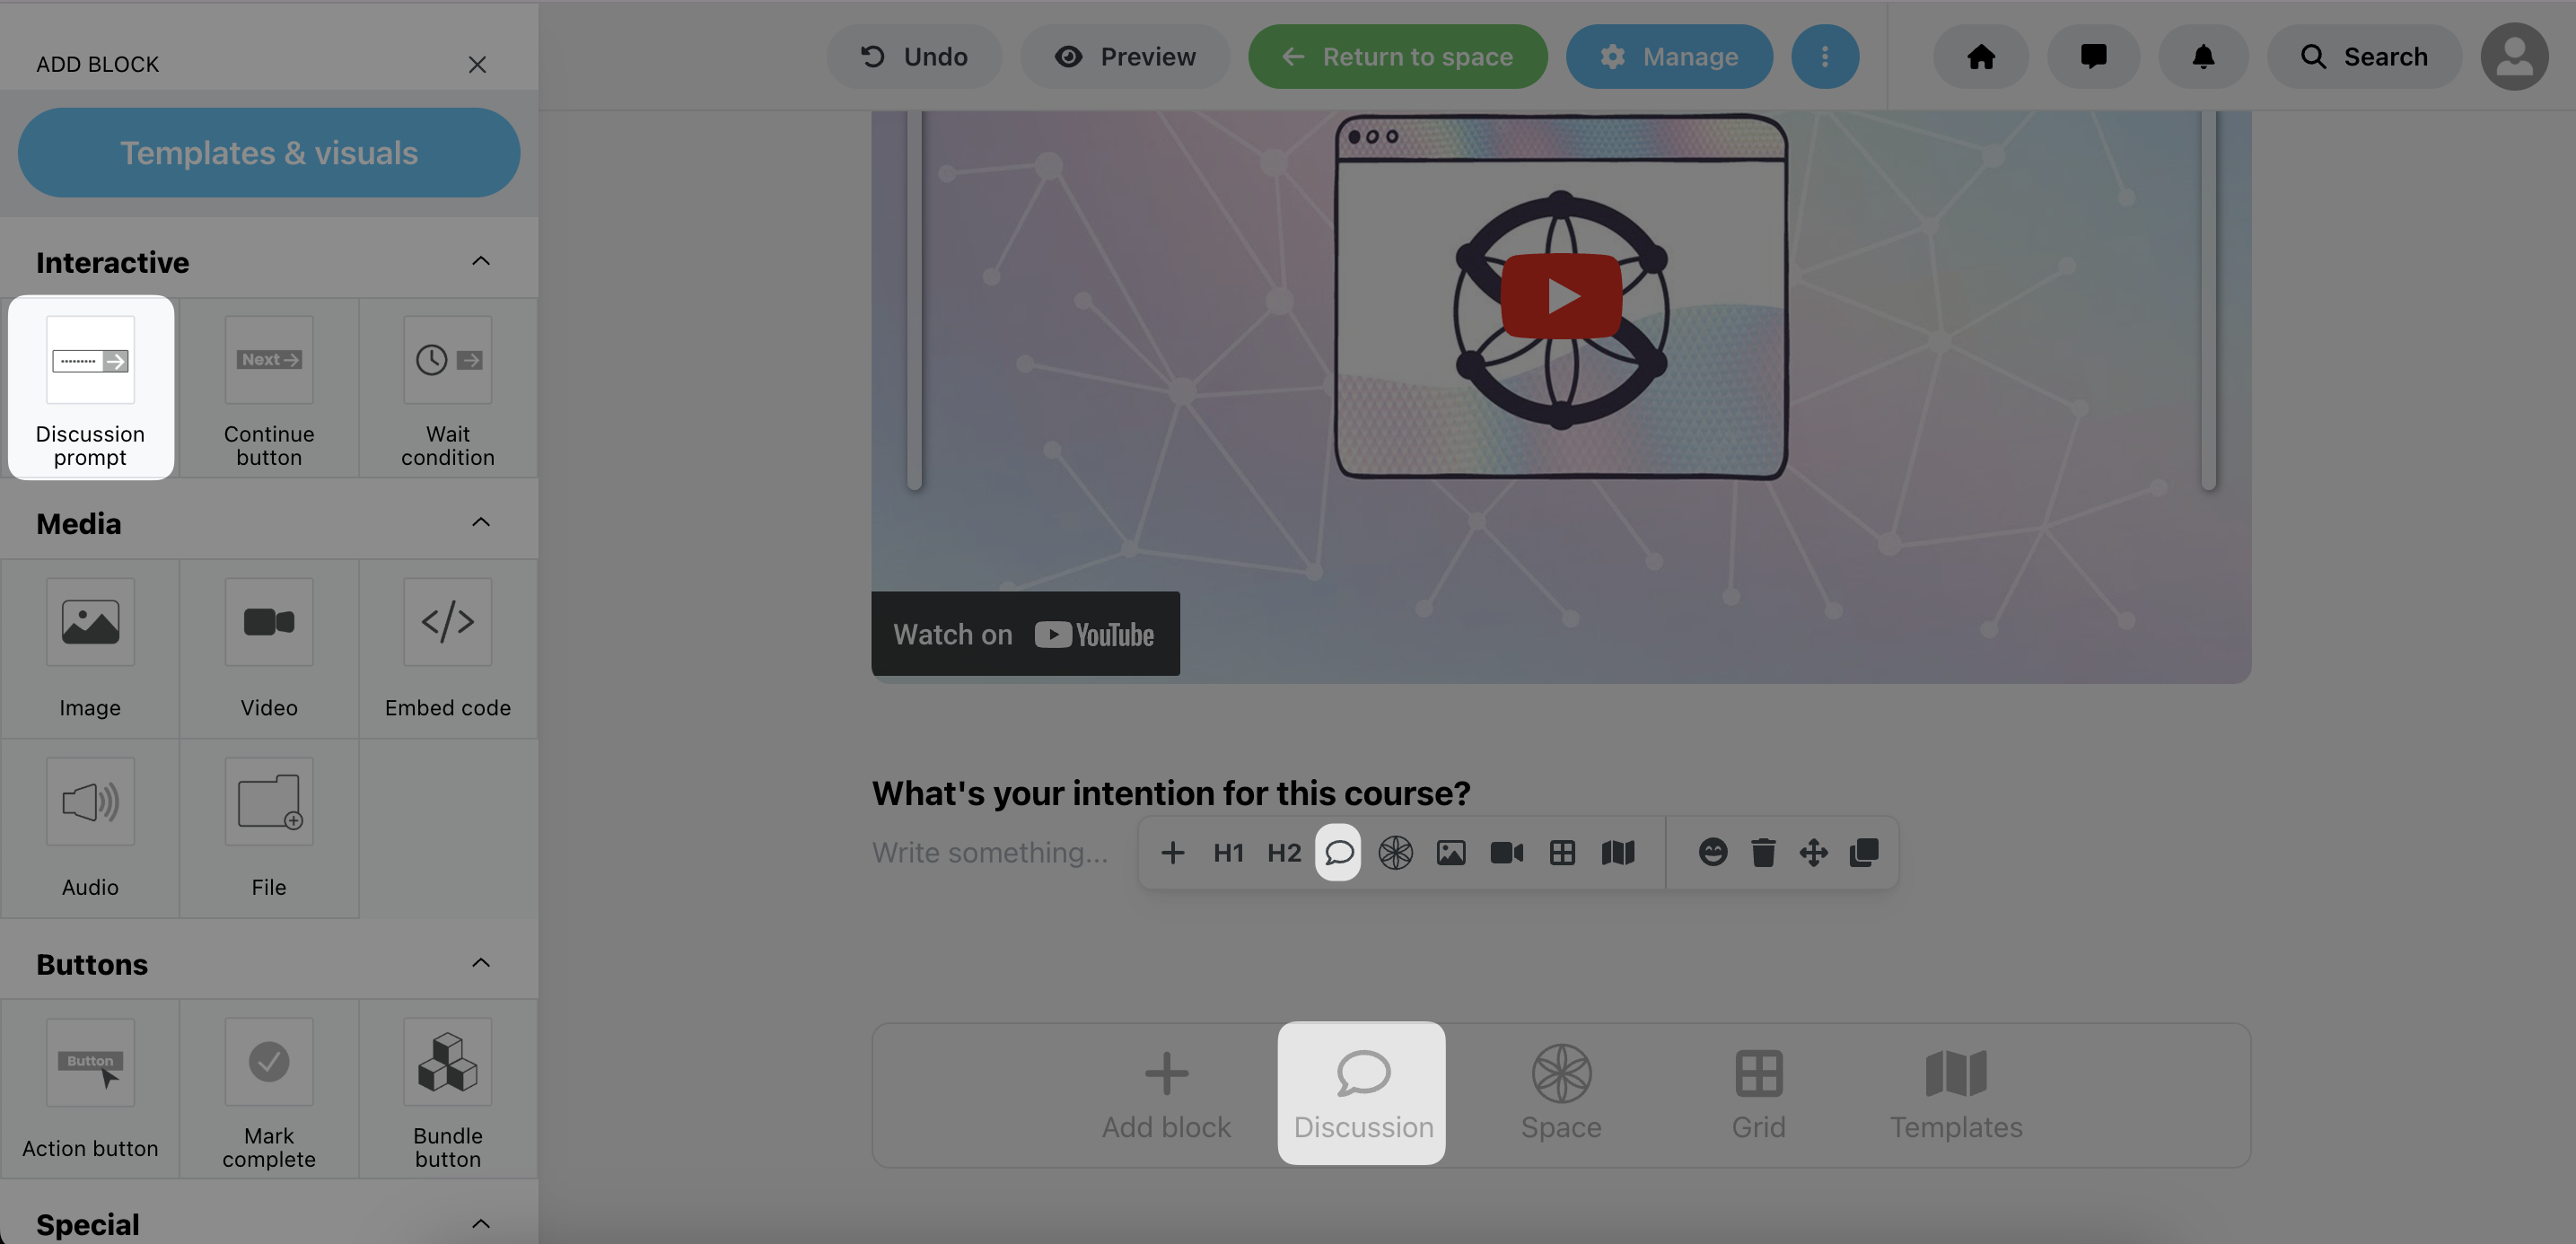
Next, you will add your Discussion prompt block by putting the cursor on the empty line below the text, click in one of the shortcuts or Add block (+ icon) and select a Discussion prompt block:
Once the block is added, you can click on it and select Settings:
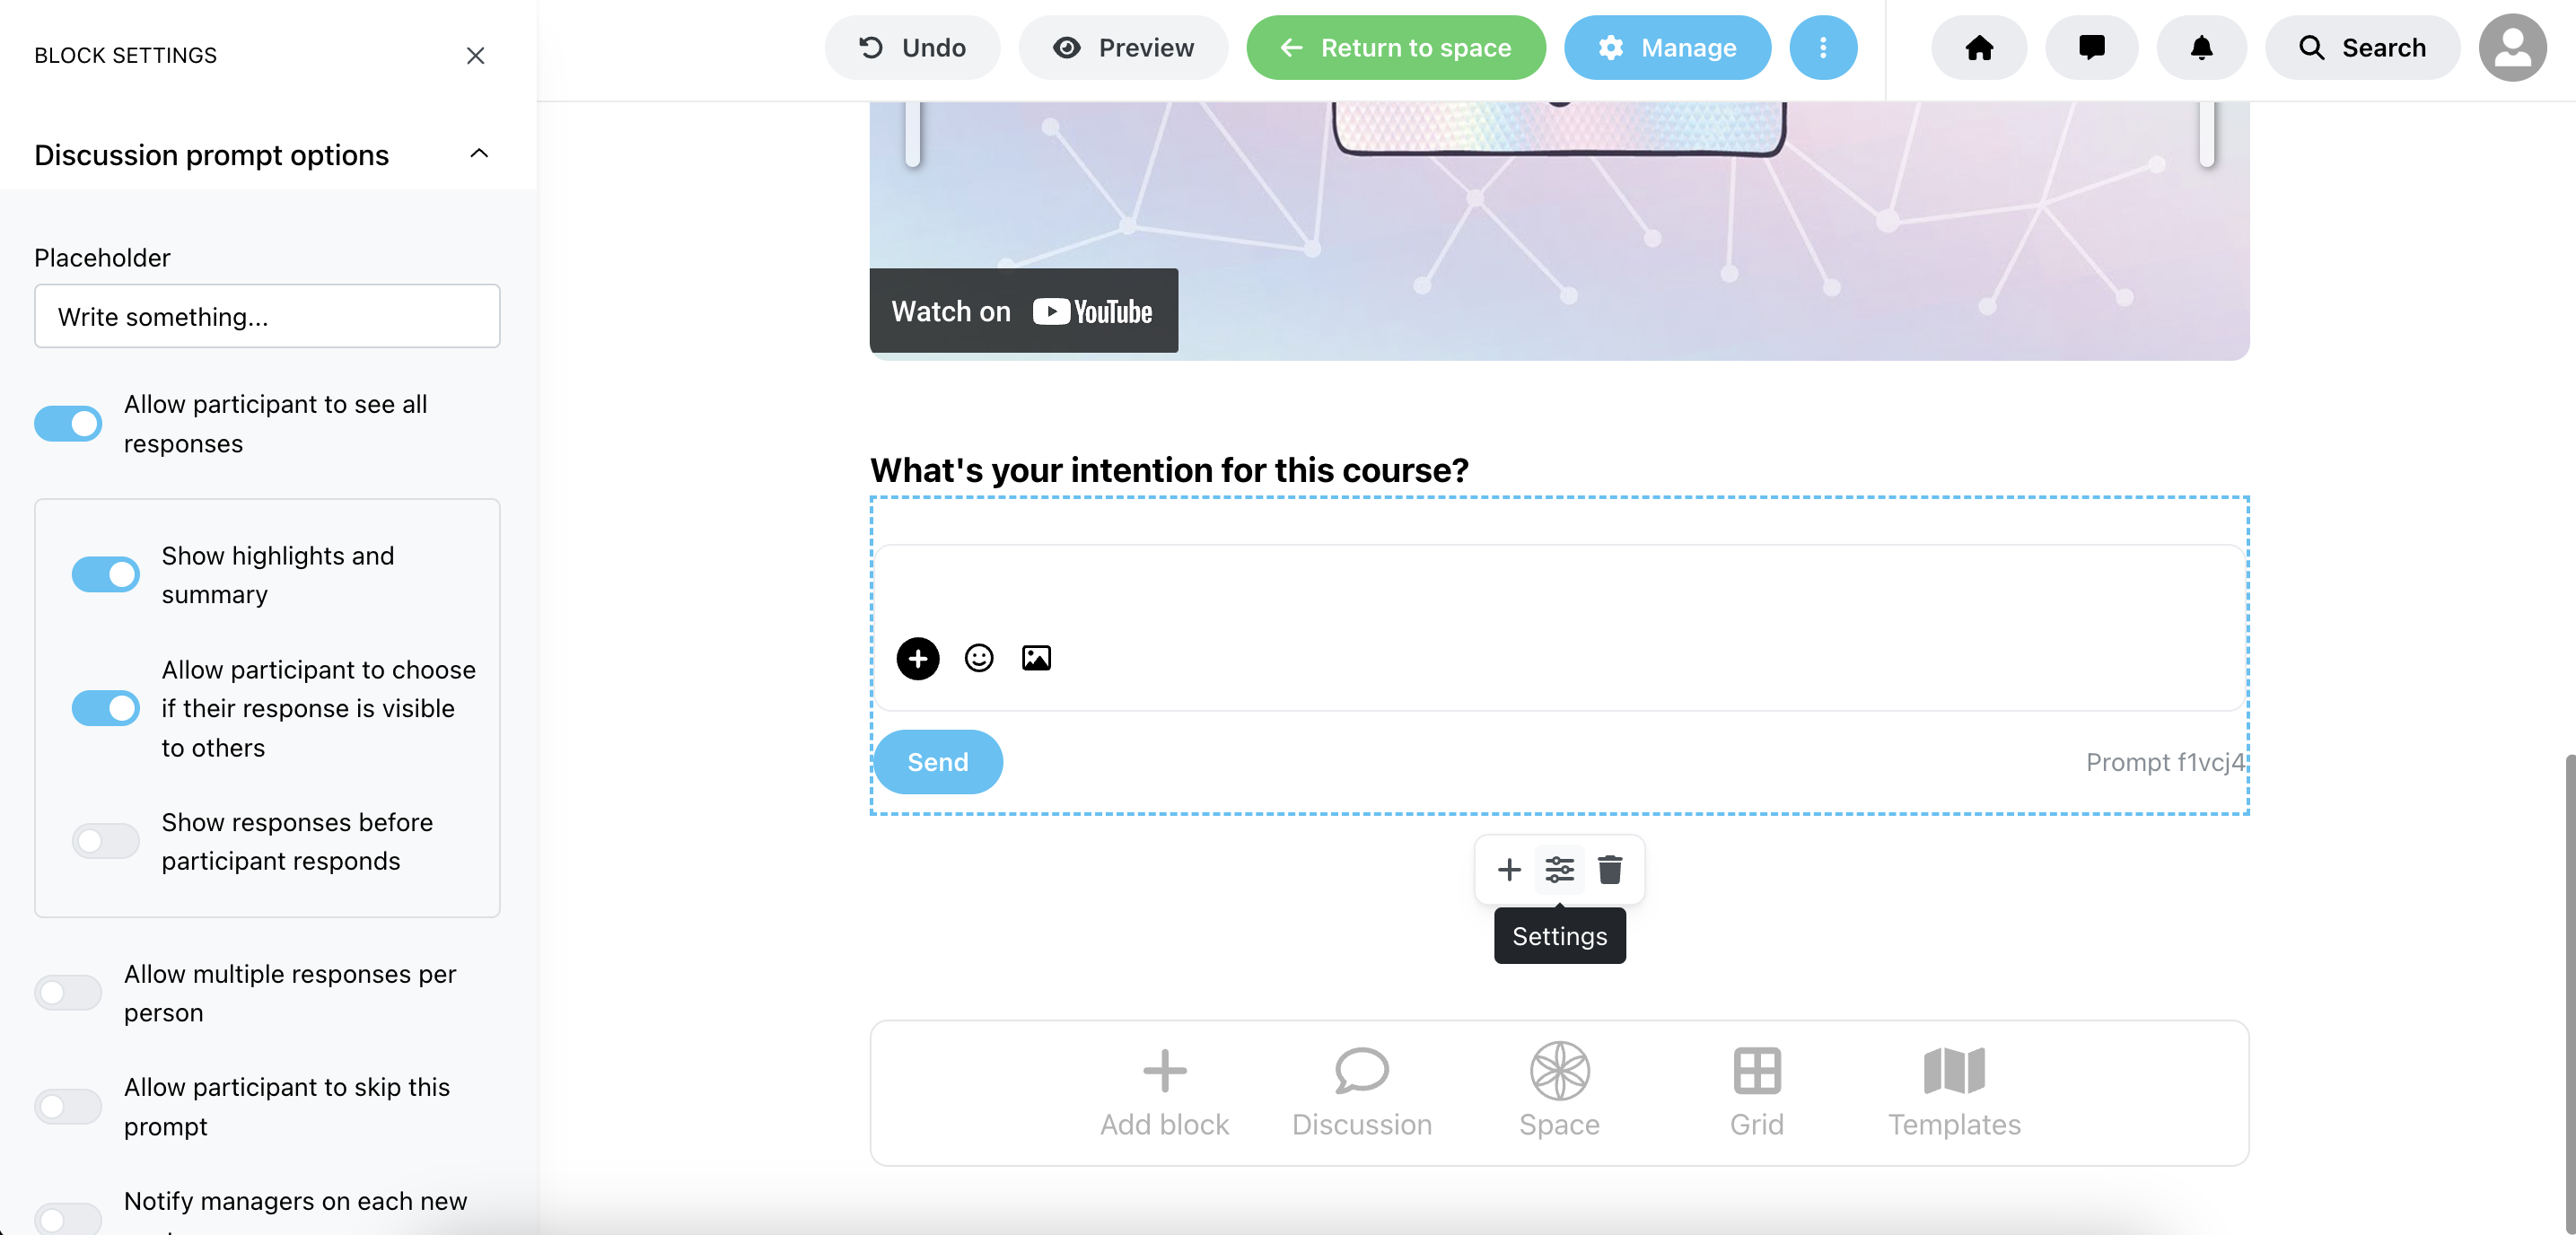
By default, participants will only see all public responses after they post their own message and will have the option to choose if their response should be private or visible to other members. But you can change that by adjusting the settings below:
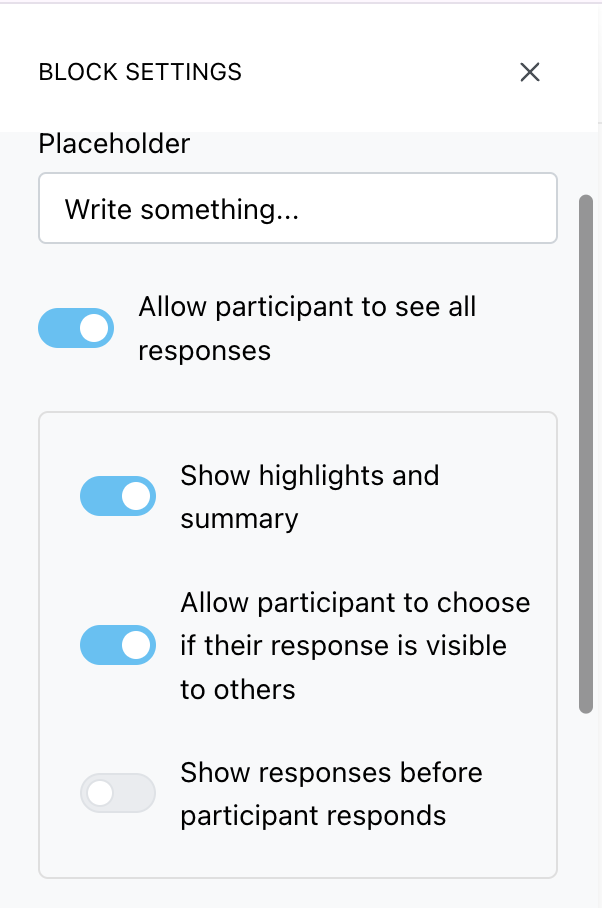
The Show highlights and summary option is an AI-powered setting that highlights the most relevant posts from the participants and summarizes the discussion into themes. You also have the option to read all responses by clicking on Discussion:
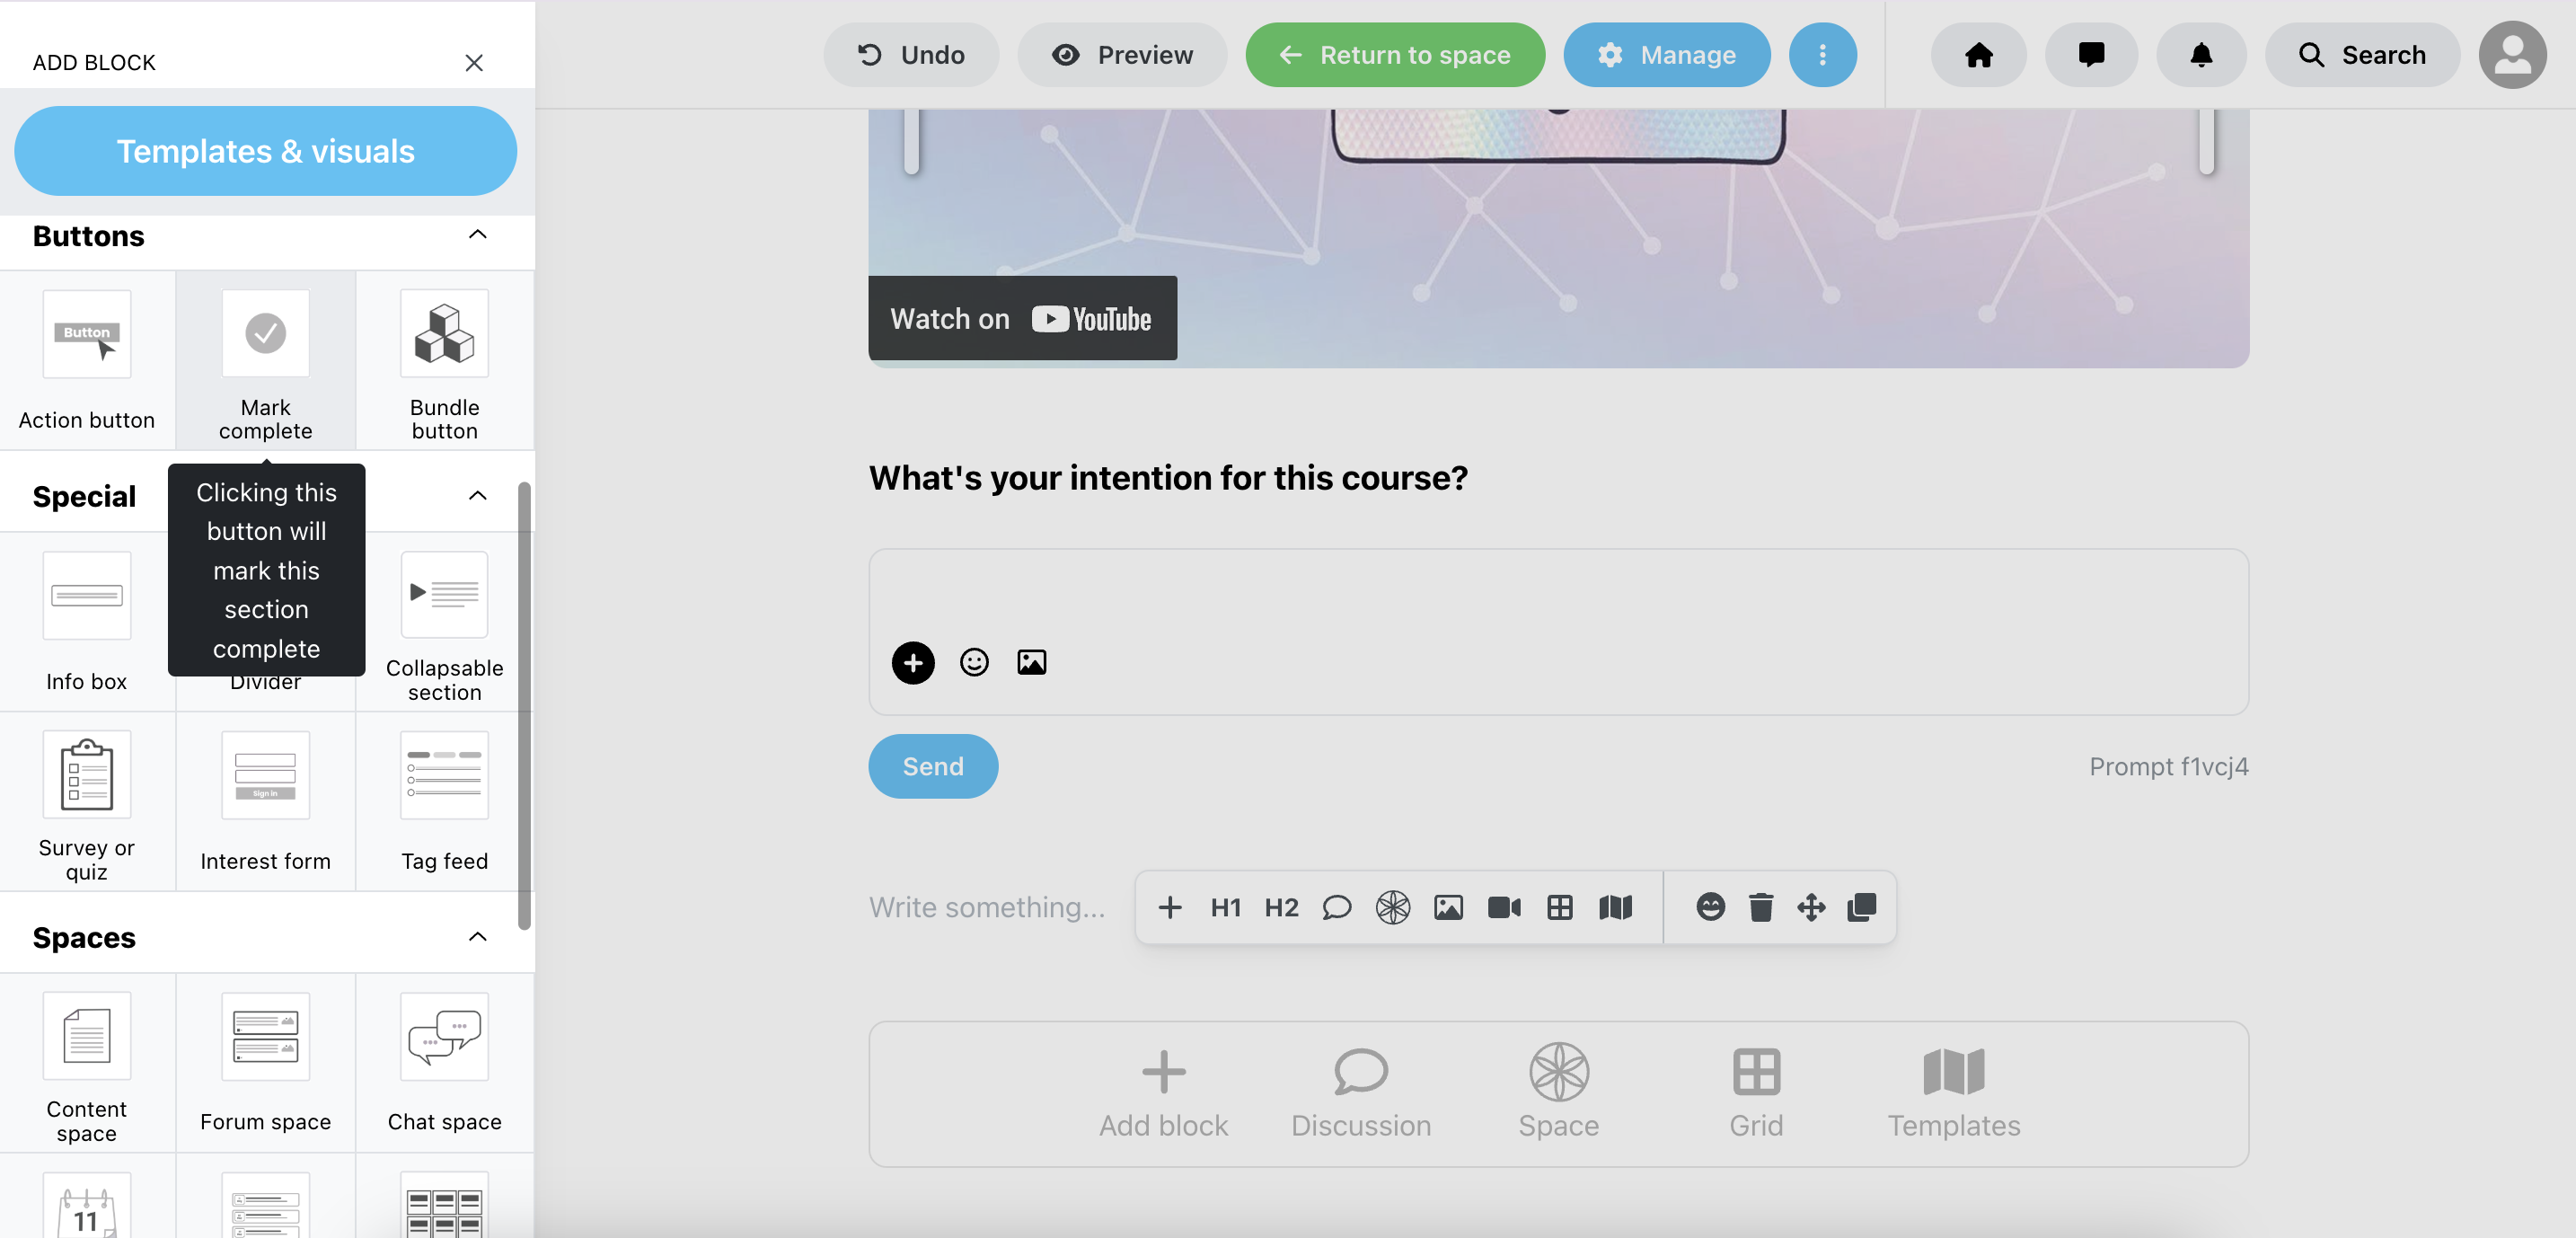
In edit mode, put the cursor on the empty line below the content, click on Add block (+ icon), in the Buttons section, select Mark complete
Once the block is added, you can click on it and select Settings:
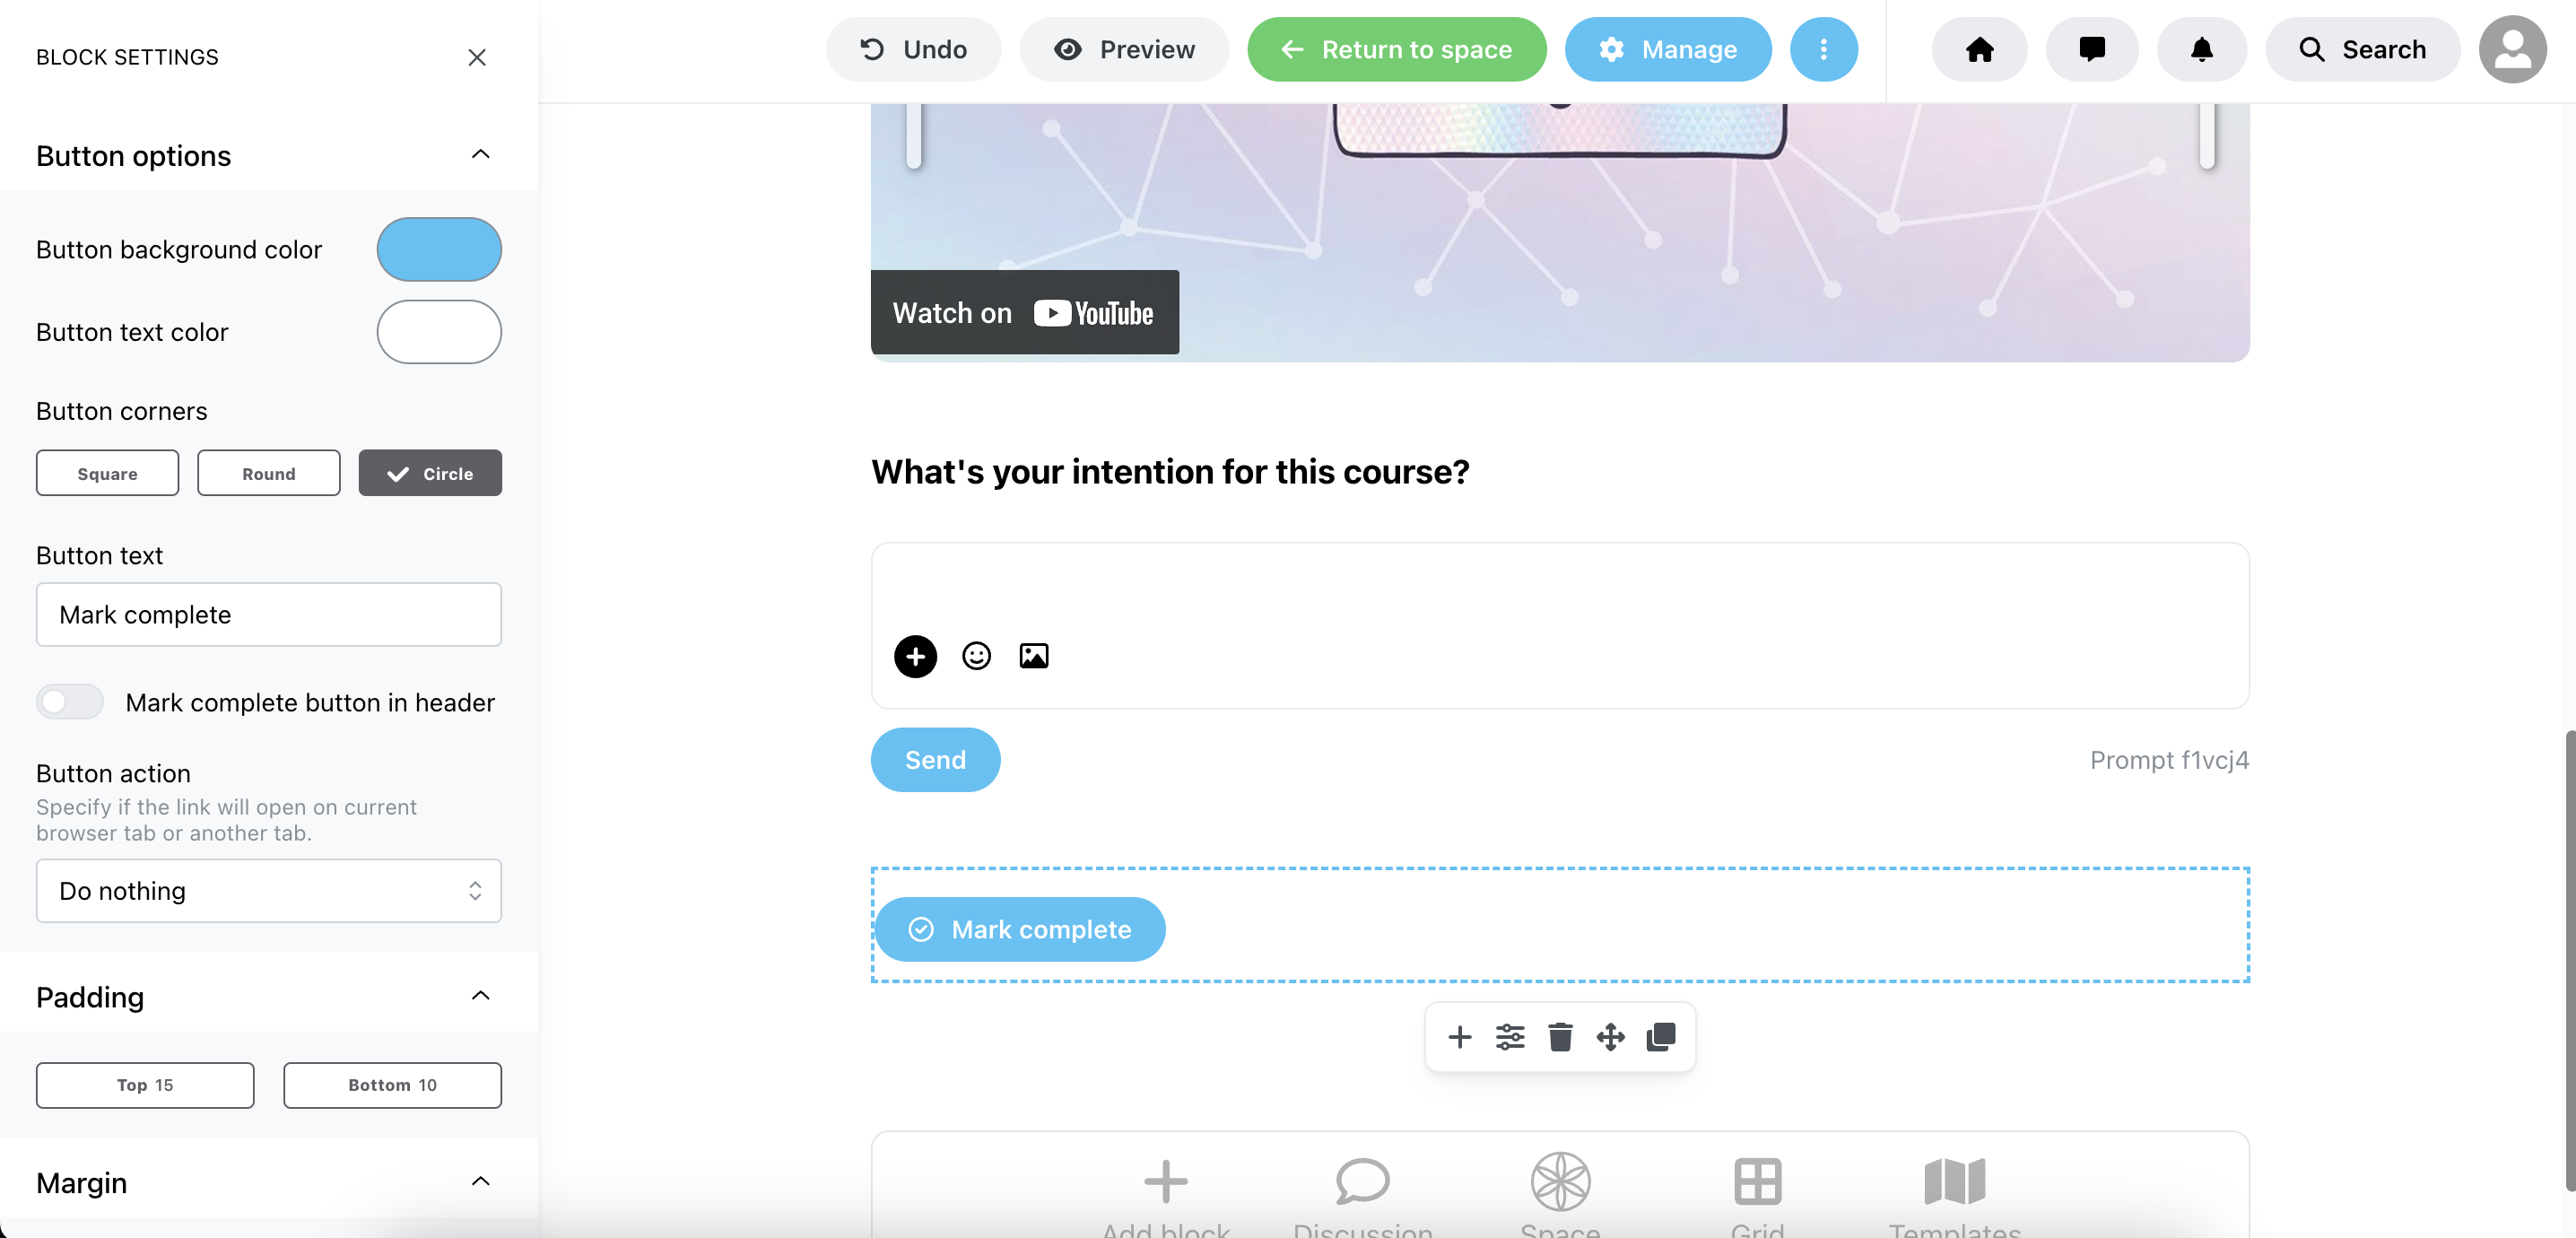
Here you will have a couple of options:
1) Change the button text and design
2) Also show a button in the header
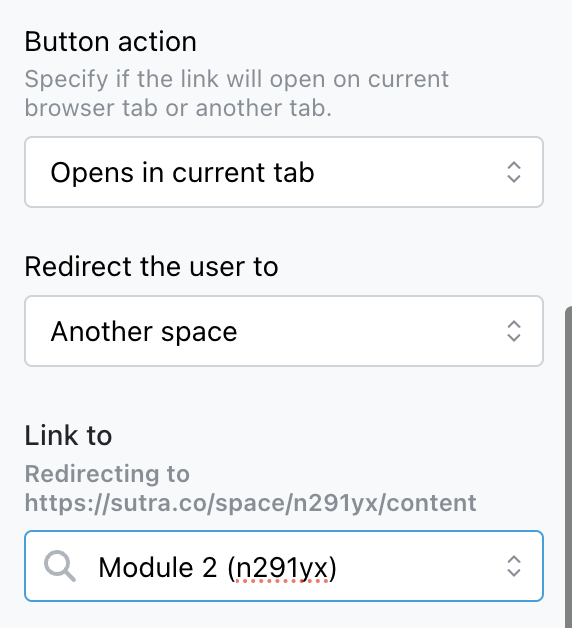
3) Automatically redirect members who click on this button to the next space (Another space) or another external resource (Custom link)
TIP: If you don't want members to see all modules at once, you can keep the upcoming modules Private and create an automation connected to the Mark complete button that will only add participants to the next module once they complete the previous one.Here are the steps to create this:
1) Select the upcoming space, click on Manage and change the privacy settings to Private:
2) Then on the level of the previous space, click on Manage and on the Automation section, click on Add trigger, select Space marked completed and Save trigger:
3) Then click on Add step, select Add person to a space and select the space you want to redirect them to and Save step: